
Prep Is Most of the Job
There's a way to stain concrete that takes one afternoon: mop the floor, spray on color, roll on a sealer, send the bill. It looks good in photos on day one. That shortcut is one reason some people come to stained concrete floors already skeptical. They may have seen a friend’s floor go patchy.
Real prep is most of the labor on a staining job, and you can't see any of it in the finished floor. That's why it's worth checking that prep is written into any quote.
Here's how a job can go, in order. Prep depends on the job, and your written proposal lists the exact steps for yours.
Step One: Getting Everything Off
Typically, everything that isn't concrete comes off. That means carpet and pad, tack strips, tile and the mortar under it, vinyl and its glue, old sealers and coatings, paint, and any other leftover glue.
This part is messy, and it's where the surprises show up. Under tile there's often a second, older layer of glue. Under carpet there may be patched trenches nobody mentioned. Now and then the slab underneath was only meant to be covered up, and it shows. Older tile and black adhesive can contain asbestos, so if your flooring may be decades old, it needs testing before anyone removes it. We'll talk that through during the consultation.
Plans can shift at this stage, and for good reason. If we find something that changes the work, our standard practice is to talk it through with you before we keep going.
Step Two: Grinding the Slab
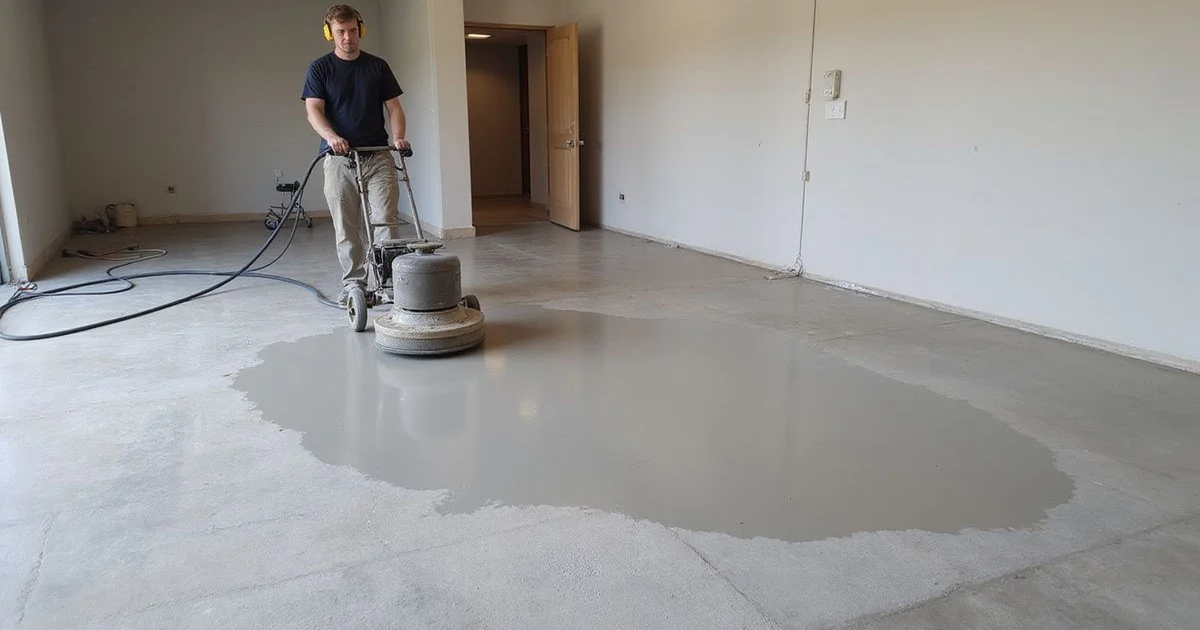
When the slab calls for it, we grind it next. We use a heavy floor grinder with diamond heads and keep going until the surface is open, clean, and even.
Grinding does three jobs at once. It takes off the last of the glue and the weak top layer of the concrete. It opens the pores so stain soaks in instead of sitting on top. And it evens out how much the concrete soaks up from spot to spot. Some areas were covered, some left bare, some patched, and some worn smooth by decades of foot traffic.
Grinding concrete makes fine dust, and it can settle on furniture, shelves, and belongings. Keep people and pets out of the work area until cleanup is done. Dust control depends on the job and the space.
Why an acid wash isn't real prep
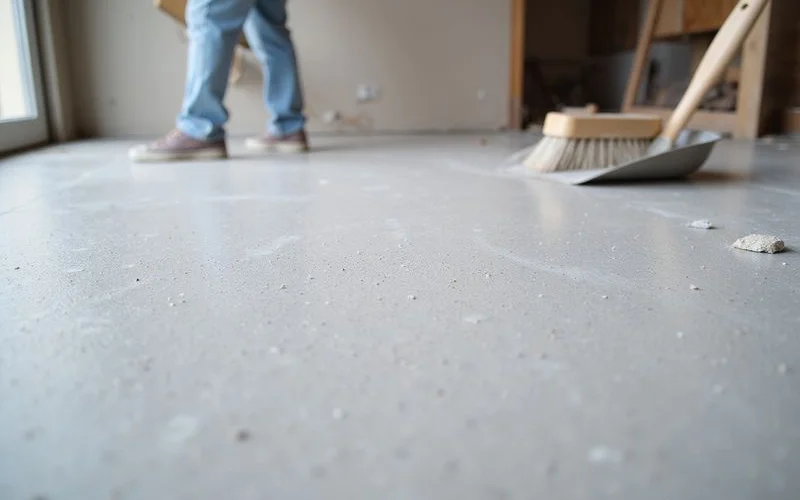
A lot of DIY advice says to etch the slab with an acid wash before staining. It dissolves some of the top layer, but it can't take off curing compounds or oily buildup the way grinding does. It's hard to control too, so one slab can end up over etched in spots and barely touched in others. When the slab needs it, we grind instead.
Step Three: Repairs and Choices
With the slab bare and open, you can finally see what you're working with. This is the time to decide what to do about cracks, tack strip holes, and patches.
Some of it is simple: filling holes, treating cracks that have stopped moving, fixing chipped or flaking edges. Some of it is a judgment call about how much of the slab's history you want to see. We talk that through with you, since it's about taste, not a technical question. A floor with its history showing has one kind of look. A floor where everything's been filled and leveled has another.
If you want none of it to show, the honest answer is often a microtopping (a thin cement coat over the whole slab) instead of a stain. We'll tell you that, and yes, it changes the job.
Step Four: Color
Only now does any color go down.
Acid stains go on and get left to react. Then we neutralize and rinse them the way the product calls for, since leftover acid keeps the sealer from sticking. Water based stains and dyes go on and dry, and how even they look comes down to technique. Layered looks (an acid stain first, then a dye on top) need two products that work together and the right timing.
Matching the products isn't a small detail. The stain, the sealer, and anything you use to care for the floor later all have to work together. As a rule, we go by the maker's own instructions, not old trade habits.
Step Five: Sealing
The sealer decides how the color looks, how the floor feels, how much it shines, and how it wears. Coats go on with drying time between them. Your written proposal lists the number of coats for your job.
Then the floor cures. You can usually walk on it lightly before the furniture goes back, and the furniture goes back well before you should drag anything across it. When the job is done, we walk you through care, cure times, and upkeep. How the floor holds up depends on following those steps. If you have questions or concerns after the job, let us know and we'll go over them with you. For how many days each stage takes, see our stained concrete installation timeline.
What to Ask Any Contractor
Four questions tell a real quote from a hopeful one. What prep is included, and is taking up the old floor priced in? Are you grinding, and how much? How many sealer coats are in the price? What's not included?
If you're still figuring out whether your floor will work at all, start with whether your existing concrete can be stained. The prep answer comes after that one.