
Two Choices You Make Separately
Every polished concrete floor comes down to two choices. Settle both early and the finished floor is far less likely to surprise you.
The first is aggregate exposure, meaning how deep the first cut goes and how much of the concrete’s own stone you see. The second is gloss level: how many polishing steps we run and how shiny the floor ends up.
The two don't depend on each other. A low gloss floor can show full aggregate, and a high gloss floor can show almost none. Decide both before work starts, since you can't undo the cut once it's made. For more on how the process works, see our guide to what polished concrete is.
How Much Stone Shows, Class by Class
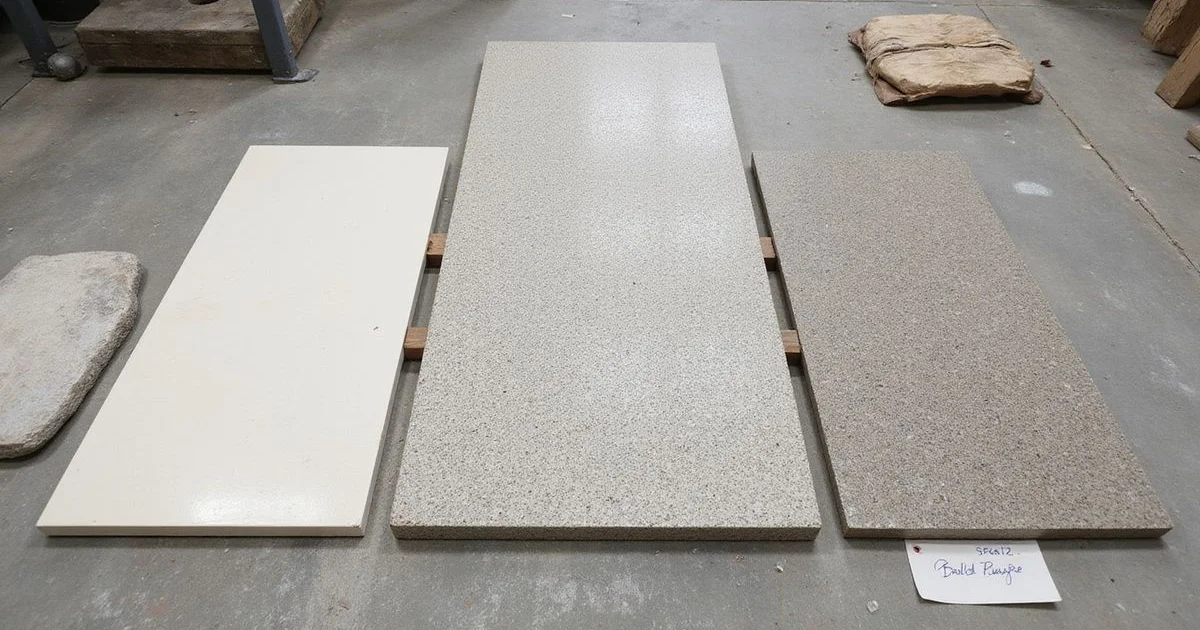
Cream (Class A). This is the lightest cut. Most of the top cement layer stays in place, so the floor looks even, calm, and mostly the same all over. It's the most forgiving if the pour wasn't even, and the least likely to show repairs. It's usually the cheapest of the three too, since the first cut is shallow.
Salt and pepper (Class B). It's a medium cut that takes off the paste and shows the fine sand and small stone right under it. We often steer people here, since it looks like concrete without needing a flawless slab.
Full aggregate (Class C). The deepest cut brings out the larger stone for a look that's close to terrazzo. The look is bold but unforgiving. It needs a slab where the stone is spread evenly and sits at the same depth, or the floor comes out patchy.
The slab decides, not the brochure
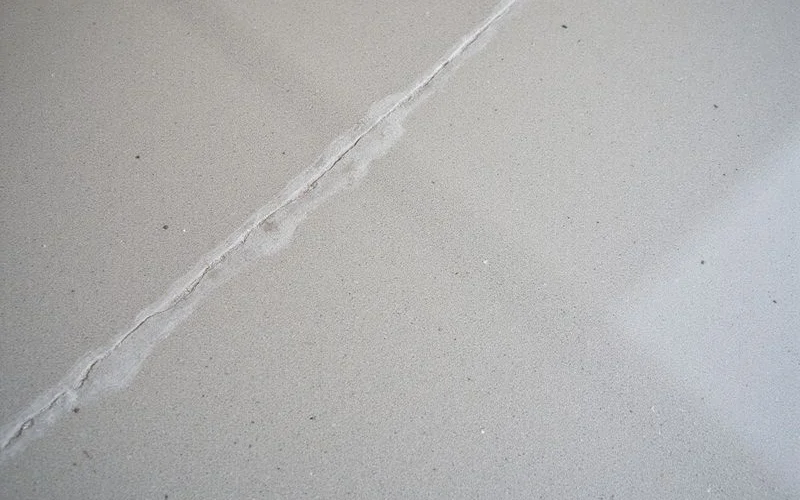
So why can't you order full aggregate on any slab? The stone you see is whatever your slab already has. Cutting only brings it to the surface. If the stone sits deep or uneven, chasing it gets you a blotchy floor and a big bill. We'll check your slab during the consultation and tell you what looks realistic.
Gloss, Level by Level
Gloss usually gets rated on a scale from one to four. Level 1 is flat and matte, with almost no reflection. It hides dust and wear well, which suits warehouses, work spaces, and some modern homes.
Level 2 is satin, with a soft sheen and a little reflection. It works well in homes and offices.
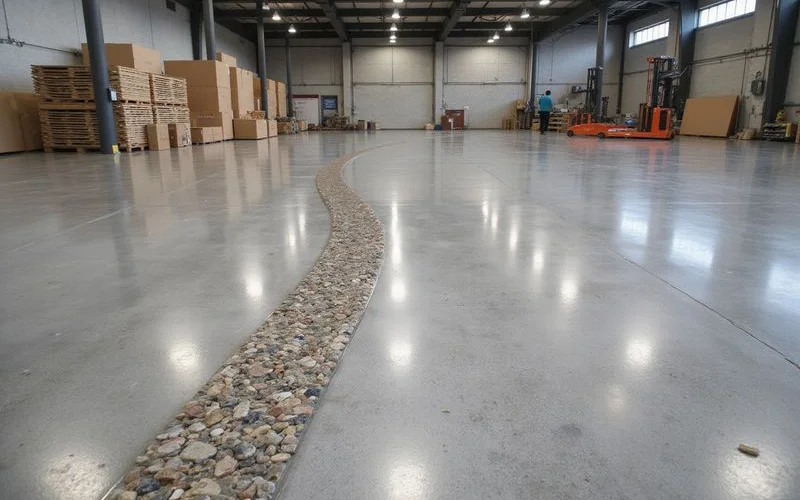
Level 3 is semi gloss. You can see reflections in it, and the surface looks deeper. Level 4 is high gloss. It throws back the most light, and it takes the most work to keep it looking that way.
Which Look Fits Which Room
| Space | Usual stone exposure | Usual shine |
|---|---|---|
| Home, open floor plan | Cream or salt and pepper | Satin to semi gloss |
| Retail, showroom | Salt and pepper or aggregate | Semi gloss to high gloss |
| Cafe or restaurant | Salt and pepper | Satin, for better grip |
| Warehouse, industrial | Cream | Matte to satin |
| Garage | Cream | Matte to satin |
Grip is worth calling out on its own. Higher gloss grips a little less when wet. By doors to the outside, near a kitchen, or around water, pick the sheen with grip in mind, not for how it looks in photos. No wet surface is fully slip proof, so keep wet areas dry and use mats where people walk in from outside.
What It Does to the Price
Both choices push the price up, for the same reason: more passes with the machine.
Showing more stone means a harder first cut and more diamond tooling worn down. Higher gloss means more polishing steps, and each one is a full pass across the floor. A cream finish at satin gloss costs the least. Full aggregate at high gloss costs the most, sometimes by a lot.
That's worth knowing before you fall in love with a photo. The same slab can end up either way, and most of the difference is machine time.
How to Decide
Look at real floors, in person, in rooms of a similar size and light. Photos make gloss look stronger and the stone look flatter, so they fool you both ways.
Then be honest about how much upkeep you want to deal with. A high gloss floor isn't harder to clean, but it shows dust and scuffs sooner. Some people like keeping it spotless, and others find it a daily chore.